Installing or replacing gutters is not an easy task, but doing it yourself is doable with the right equipment, accurate measurements, and safety measures in place.
If you are looking to save money with a DIY project, our article has you covered. We’ll show you how to install rain gutters—from planning and preparation to the final testing step.
But if you’d prefer, We would be happy to provide you a quote for customized gutter installation. Don’t hesitate to contact us today!
Why Are Gutters Needed?
Rain gutters protect your home from water-related damage. Without properly installed gutters, rainwater can:
- Damage your siding through splashing
- Erode the soil around your foundation
- Cause basement leakages and flooding
- Contribute to mold and mildew growth
- Cause water damage on your roof, reducing its lifespan
Gutters can also add an aesthetic appeal to your home when you choose the materials, colors, and styles carefully.
How to Install Rain Gutters in 8 Steps
Start and complete your gutter installation project by following these steps:
1. Plan your gutter installation
Before installing gutters, you’ll need to prepare by selecting gutter styles, measuring your roof, and choosing a suitable downspout location.
Start by determining the type of gutter system that is ideal for your house, for instance:
- Seamless gutters
- Metal gutters
- Aluminum gutters,
- K-style gutters,
- Traditional round gutters, etc.
Then, measure your roof to determine the linear footage of gutters needed for the project. Calculating your roof length also helps you assess the appropriate angle for the gutter slope.
If the gutter run is 40 feet or longer, it should be set up to slant downwards from the center towards a downspout on both ends. But if it’s shorter than that, one downspout either to the left or right is sufficient.
Determine the right spots for your downspouts. Also, inspect your fascia boards and rafter tails for any needed repairs. If the fascia needs repair, do that before beginning your project. It’ll ensure a stable foundation for your gutter system.
2. Gather your materials and tools
Gather all the materials and tools you need for the project. The materials you’ll need include:
- Gutters
- Downspouts
- Fascia brackets
- End caps
- Gutter sealant
- Stainless steel screws
Here are the tools you’ll need:
- A chalk line
- Tin snips
- Sheet metal screws
- A pop rivet gun
- Ladder
3. Mark the gutter layout lines
First, you need to find the highest point of your gutter run. Typically, that point should be about 1.25 inches below the eaves or metal drip edge flashing. Then mark the low end of the gutter run on the other fascia end.
Create a slope line, ensuring water flows towards the downspout hole locations. Ideally, the slope line should be about a half inch for every ten-foot gutter run. So, make marks on the fascia sloping a half inch every 10-inch mark.
Connect these marked points by marking a chalk line between them. It’ll be a precise reference for aligning and installing the gutter system.
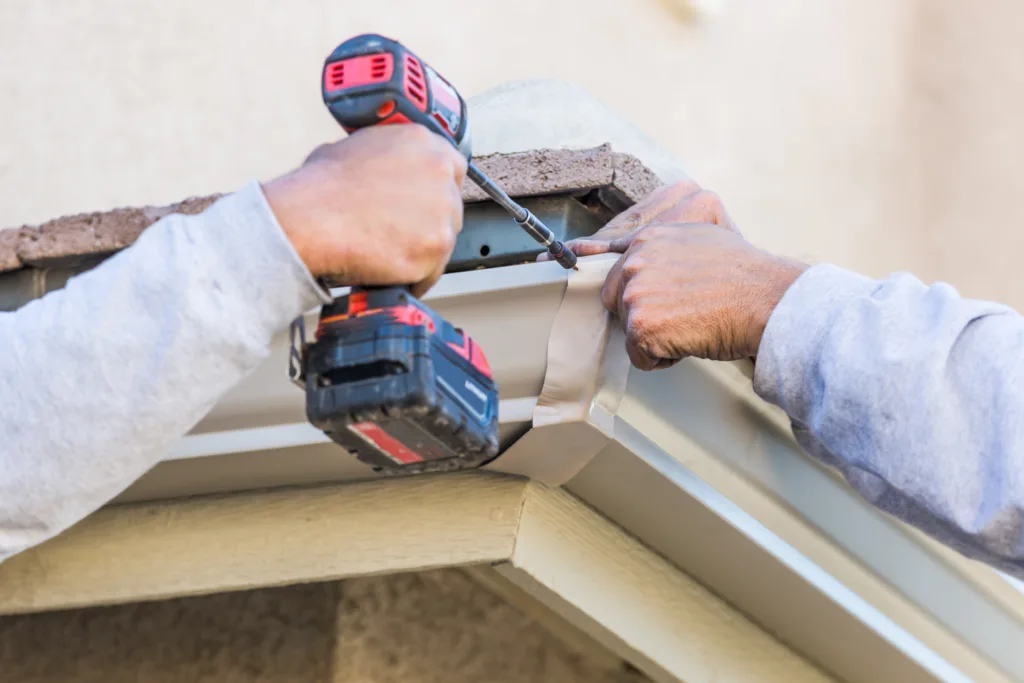
4. Attach the fascia brackets
Start by finding the location of rafter tails on the chalk line, often indicated by nail heads. Once you find them, mark a chalk line at each point.
Then, make a pilot hole, around ⅛-inch in diameter, through the fascia at every marked rafter tail point. Then attach and secure the fascia brackets at these points using stainless steel lag screws.
5. Attach the downspout’s outlet and caps
Now, it’s time to attach your downspout outlet and caps. First, you have to turn the gutter face down and make the positions of the outlets. Next, create a small hole using a hammer and chisel; cut and remove this hole using tin snips.
Then, use an electric drill to drill two ⅛ inch holes for your rivets. Apply silicone gutter sealant around the opening of these holes, insert the outlet, and secure them with your rivets. Place the end cap on the gutter and secure it with a sheet metal screw as you drill a hole. Finally, replace this screw with a pop rivet and apply silicone glue along the seam for waterproofing.
6. Install gutter sections
The next step involves mounting the first gutter section on the fascia brackets, ensuring it’s in line with the chalk lines. Remember to use screws to secure it to the fascia brackets.
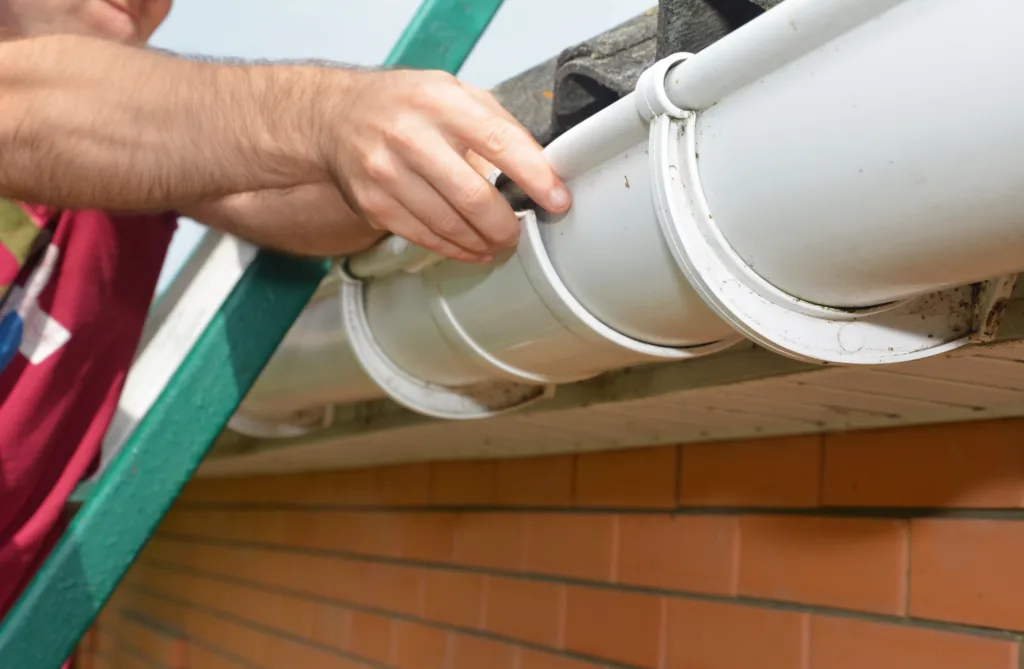
Once you’ve installed the first section, you can now connect the other sections. Use gutter end caps and pop rivets to cap the ends, and ensure everything is aligned for proper water flow and that your gutters drain properly.
7. Seal and secure gutters
Once you have secured the sections, secure the entire gutter to the fascia brackets by using stainless steel screws and applying gutter sealant along the joints. Don’t forget to double-check the slope using a level and secure any loose-end cap seams or hangers.
8. Attach downspouts
You’re almost done! Cut and attach your downspouts to the outlets, and install drain pipe extensions to direct water away from your home’s foundation.
Inspecting and Adjusting Your Rain Gutters

Before wrapping up your project, you need to conduct thorough inspections. Check for proper water flow by running water through the gutters and downspouts. Secure any loose components and inspect for leaks. Also, ensure all joints are sealed tightly to avoid issues in the near future.
When to Call Roofing Experts
While DIY projects can be cheaper and more satisfying, it’s still best to call roofing experts to install rain gutters for you.
For instance, if your home has a complex roofline, multiple stories, or intricate architectural features, hiring professionals can help you avoid costly mistakes and safety issues.
If you want to work with professional gutter installation experts, contact Heritage Exteriors for a free estimate.