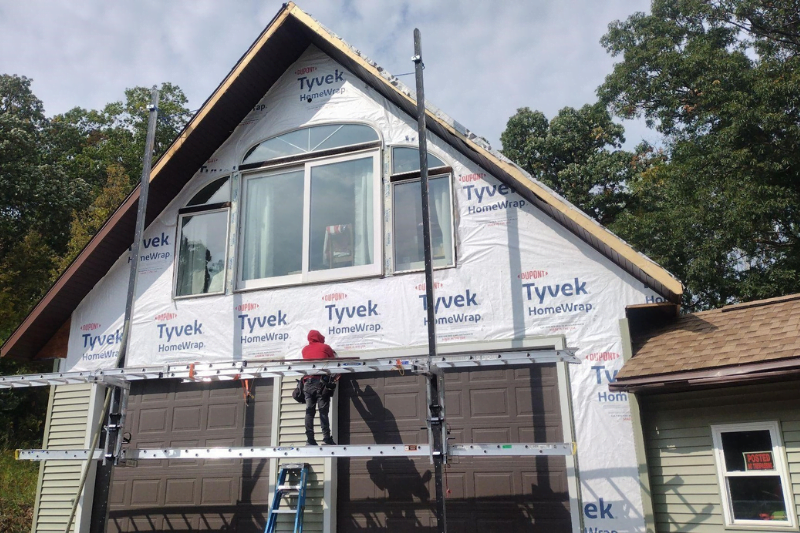
Siding installations are undoubtedly challenging, but that doesn’t mean they can’t be DIYed successfully. You can totally pull off a one-man vinyl siding project with enough preparation and know-how.
This guide will ensure your project goes smoothly by highlighting a few insider siding installation tips and tricks. So grab your tools and vinyl panels, and let’s get to work!
Need professional help with your siding project? Contact Heritage Exteriors today.
10 Siding Installation Tips
1. Avoid Thinner Starter Strips
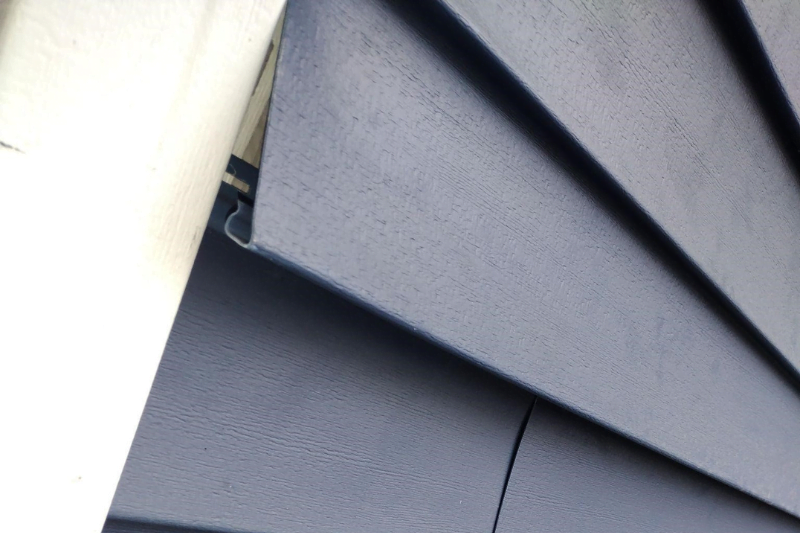
The starter strip is what you install at the bottom of the exterior wall to provide a base for the first row of panels. Vinyl strips are the most common, but aluminum and steel options are available for greater durability.
You might be tempted to buy thinner strips at the hardware store because they’re more affordable, but we wouldn’t recommend that. Why? The thinner the starter strip, the less protective the siding will be.
Most suppliers sell 2-1/2” and 3-1/2” starter strips. We recommend getting the latter. A 3-1/2” starter strip will cover enough foundation for adequate protection against the elements.
Pro Tip: Make sure the starter strip’s bottom is at least 1” below the top of the foundation. And keep in mind that it’s best to install the vinyl siding as low as possible.
2. Use a specialty blade
The last thing you want to do when cutting vinyl is use a standard fine-toothed saw blade designed for wood. Doing so will instantly shatter the siding panels.
Powered circular saws using a blade that’s mounted backward are known to provide the cleanest and easiest cuts for vinyl siding.
Make a test cut when trying out a new vinyl blade before making any drastic cuts.
Alternatively, you can use a sliding miter saw. Just make sure to use a slow speed setting, and don’t apply too much pressure to the vinyl panel.
3. Cap Off the Corner Posts
Capping off the corner posts before installation is important for protection against pests. You wouldn’t want mice and insects creeping inside your property, would you?
Here’s how to cap a corner post:
- Cut off a few inches of the post’s J-channel portion until you have a flat surface.
- Fold back the other flaps.
- Use a hammer to tap a crease into the faps.
- Notch the flaps so that the post is flush against the wall.
- Use screws or nails to attach the cap to the post.
Pro Tip: Vinyl gets brittle when it’s cold and can crack under pressure. So, if you live in a cold climate, make sure to warm the posts before capping them off.
4. Upward Pressure as You Nail
The key to successful siding installation is locking the panels onto each other. If, at some point, the panels unlock from each other, a gust of wind can easily send them flying. We’ve seen many DIY siding projects go to waste because of this very issue.
So, how do you make sure those panels stay locked together? It’s all about applying upward pressure. You should lift up each piece of siding as you nail it.
Be careful not to apply too much upward pressure to the point of breaking the flange.
5. Use Galvanized Roofing Nails
From our experience, galvanized roofing nails that are at least 2” in length are your best bet for vinyl siding. If the siding is going up against rigid foam rather than the sheathing itself, opt for longer nails.
Avoid using nails that aren’t galvanized because they’ll corrode quickly. Galvanized nails are covered with a zinc coating that improves their rust and corrosion resistance.
Pro Tip: Don’t hammer the nails too tight. Allow the panels to move a bit to prevent bubbling on hot days.
Note that if your project involves using aluminum trim pieces, you’ll need to use aluminum or stainless steel fasteners instead of roofing nails.
6. Start With the Longer Panels
Longer vinyl siding panels don’t stretch as easily as shorter ones, so it’s harder to adjust them when they get misaligned.
This is why you should start with the longer sides when siding around a window or door. Ensure that both sides—the longer ones—are even before nailing the shorter sides.
Note vertical siding panels are often longer than horizontal siding panels, especially for doors.
7. Overlap the Top J-Channel
Allowing water to seep in behind the side J channels on a door or window can result in mold and mildew. Luckily, there’s a simple solution to prevent that from happening.
Create a flap in the J-channel that sits on top of the door or window. It will then restrict water from getting behind the side channels once it’s set in place.
You’re probably wondering, what about rainwater getting inside the top channel? Unfortunately, there’s no way to stop rainwater from entering the top J-channel.
8. Don’t Lock the Panels Too Tightly
Vinyl is a thermoplastic material that expands and contracts as the temperature changes. This is important to account for when installing vinyl siding panels.
If you install vinyl siding too tightly, the panels won’t have enough room to expand and contract. This will result in buckling or warping. And in some cases, it can lead to cracking.
Leave a gap between the head of the nails and the panels being locked. The space will allow them to expand and contract without any problems.
9. Leave Extra Space on Both Ends
As mentioned, vinyl panels should be able to move slightly after installation to accommodate contraction and expansion.
So, when you’re cutting each vinyl siding panel, you should account for about 1/4” of extra space at both ends of your siding runs.
10. Flash the Window Bottoms

It’s important to flash your windows before installing the side J channels to prevent water from getting behind the J channels and damaging the window frame.
To flash your windows, cut out a piece of felt paper and put it at the bottom corners of the window. Then, nail the piece of paper in place using roofing nails.
Wrapping Up
As long as you’ve done your due diligence with research and preparation, your vinyl siding installation should sail smoothly. You should end up with a flawless finish with the insider tips in this guide. Now, if you think you’re way over your head and are looking for professional help, don’t hesitate to get in touch with Heritage Exteriors today. Our team is ready to answer all your questions and offer you a free estimate for any of our services.